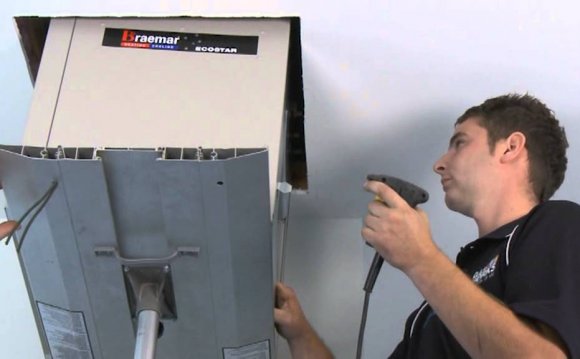
Although you have some good information about how to save money on heating bills, you should offer more information. One way we can try to improve the heating efficiency of our is to install new ductwork. Snowman has serviced several customers, noticing that they had a few ducts on the old system of little use. After Snowman suggesting them installing the new duct work with the obsolete ducts removed, they are quite happy to notice a significant increase in the output of the remaining ducts.
On most occasions, many homes today that were built years ago may not have adequate or sufficient duct systems, which often leads to a negation of the energy efficiency present in most of today’s ducted heating system. In other words, you might be losing a lot of the heat produced by your system before it ever reaches the inside of your house. By learning how to install heating ducts, you will be able to modify the duct work in your house to maximize efficiency and save some money in the long run.
Let’s get started
Steps
- Determine how much actual material you will need. The exact calculations can be a bit difficult for someone who doesn’t know what to look for. You will want to draw a rough sketch of the intended duct work layout in your house, and then estimate how much linear footage you’ll take up. Using that information, you can make an educated guess on how much actual duct work length you’ll need.
- Because you are working with estimates and educated guesses, you run the risk of not getting enough duct work length. It is better to overestimate how much you will need rather than working through the installation only to realize that you needed just a few more feet.
2. Determine how much heat you will need. Every room will require a different amount of heat. This heat is measured in units called cubic feet per minute (CFM). You will need approximately 1 CFM for every square foot of the room that needs heat.
3. Determine the size of the ducts necessary for your house. In order to maximize the potential of your furnace, you will need to take into consideration various factors like room size, number of vents in the room, and duct length between the room and the furnace.
4. Purchase ducts that match your needs. Different duct sizes correspond to different cubic feet per minute: 4-inch to 30 CFM, 6-inch to 110 CFM, 8-inch to 230 CFM, 12-inch to 680 CFM, and a 14-inch to 1000 CFM.
5. Assemble and connect the ducts. Using a knife or heavy-duty scissors, cut the duct to the necessary sizes. Connect duct pieces by folding back the insulation and inserting a metal sleeve in between the pieces and using duct tape to keep the sleeves attached.
6. Tape the seams on your finished ducts. The longer the distance between your furnace and your room, the more chance there is for the air to escape through tiny holes and cracks along the way. Duct tape will help to minimize heat loss.
7. Insulate your finished ducts, particularly in long ducts. The longer it takes for the hot air to reach a room, the more time there is for heat to dissipate.


