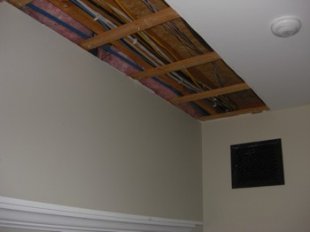
 I can clearly remember past calls from shocked customers who’ve lost entire ceilings where, without notice, the drywall crashes to the floor. The weight of the water and loss of structural integrity of the gypsum core causes the drywall panels to tear away from the fasteners. It usually happens at the worst possible moment.
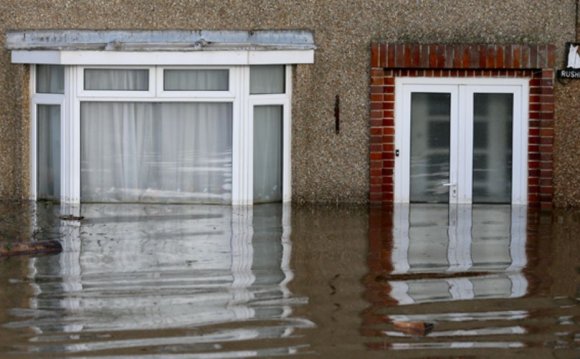
You may not feel much water leaked, but it doesn’t take too much to create a disaster. The first signs to look for with respect to the ceiling falling are depressions around the fasteners. You’ll see small dimples form as the drywall surrounding the nails or screws succumbs to gravity and starts to droop leaving an upside down crater. If you see this happening, move all valuables and furniture from the room in anticipation of a ceiling collapse.
If you see a bubble or droop start to happen in the drywall there could be ponding water on the other side. Use a nail or other punch to create a drain hole allowing the water to escape. Capture it with a bucket.
Test the ceiling with your fingers. Poke at it. If it seems as hard as drywall that has not gotten wet, you may have dodged the bullet. But if the drywall seems soft or spongy, you’re going to be best served by cutting out the damaged section before it sags and possibly falls. Cut carefully as all sorts of wires, cables, water lines, radiant heating pipes, etc. can be just on the other side of the drywall.
Repairing water-damaged drywall is not too hard. Ceilings are absolutely the hardest if you’re not a professional. Working over your head is not easy, and getting the repair to blend in with the rest of the ceiling will be tough to achieve if you’re not highly experienced at finishing drywall.
It’s best to try to cut out the wet drywall as soon as possible so that you minimize any mold growth. Mold spores are absolutely hidden in the ceiling, the temperature is perfect, and they have food. The only ingredient missing was water, and now it’s present. Mold can bloom within days if you don’t act.
Be sure to wear goggles or other eye protection as you remove the damaged drywall. The last thing you need right now is a scratched cornea from a nugget of gypsum that falls into your eye.
One of the biggest challenges in getting the ceiling ready for a new piece of drywall is cutting back the water-soaked drywall to the center of one of the ceiling joists. This is accomplished with any number of tools from a sharp razor knife to a reciprocating saw held at a low angle so the blade just cuts into the drywall and not the wood joist.
You can also cut to the side of a joist and then nail on a scab or sister 2x2 that will be the lath catcher for the new drywall. Just be sure the bottom of the framing material is flush with the bottom of the existing joist. If it’s lower, you’ll end up with an unsightly hump in the ceiling.
The leaking water can sometimes create a massive water blister in latex paint on a ceiling. You may mistake this for ruined drywall that has a bulge when in fact the drywall may not have to be replaced. Prick the large blister and let all water drain out.
The day after the leak, do the test with your finger to see how stiff the drywall is. If it’s solid, you may just have to repaint and not replace drywall. The key is to minimize the amount of water that saturates the drywall. I’ve seen many a drywall ceiling that dries out and survives. It’s not unusual at all.
If you’re worried that the drywall might fall from the ceiling at a later date, you can always install additional screws. If you’ve got one-half-inch-thick drywall, then use 1 and 1/4-inch coarse thread screws. Be sure the drywall screw is countersunk about 1/16th of an inch. If you go any further, you’ll tear the paper around the bugle-head screw rendering it ineffective.
Share this Post
latest post
-
 Universal Condenser Fan Motor June 30, 2023
 -
 Root Cellar Temperature June 30, 2023
 -
 Residential Heating And Cooling Systems June 30, 2023
 -
 Damp Basement Floor Solution June 30, 2023
 -
 Furnace Return Air Ducts June 16, 2023
 -
 Return air Grille May 22, 2023
 -
 Damp Proofing membrane Manufacturers May 17, 2023
 -
 Crawl space ventilation formula May 12, 2023
 -
 Wood cold air return covers May 7, 2023