 Waterproofing of toilets is required to prevent seepage of water from floor slab and walls as toilet involves use of water and has plumbing works.
Casting of Slab and Plumbing Works in Toilets
Casting of Slab and Plumbing Works in toilets are done in following ways:
1. Either the toilet slab is casted a foot below the outside slab, then plumbing pipes are laid as designed, then cover the pipes with filler materials, followed by tiling on top
2. Toilet slab is casted the same level of outer slab, then holes made in slab and piping is laid at bottom of slab visible from lower floor which is later covered by false ceiling. Benefit of this type is ease for the maintenance, anytime false ceiling can be opened in case of leakage and plumbing can be repaired
Method of Waterproofing of Toilets
The old method of waterproofing was make a layer cement plaster added with chemical. Modern methods employ waterproofing membranes in this area too.
 Generally there are two types of waterproofing membranes:
- Sheet membrane
- Liquid membrane
Here we are discussing method which involves application of liquid membrane along with sealant application to joints.
Required tools and materials for Waterproofing of Toilets
Brush, scrapper, paint brush, roller tray, caulking gun
Primer, tape & silicon, waterproofing membrane
Surface preparation
Surface to be free of all dust, loose particles, no contaminants, should be scrapped to make it smooth, walls should be brushed to remove the undulations.
Priming of Toilet Surfaces
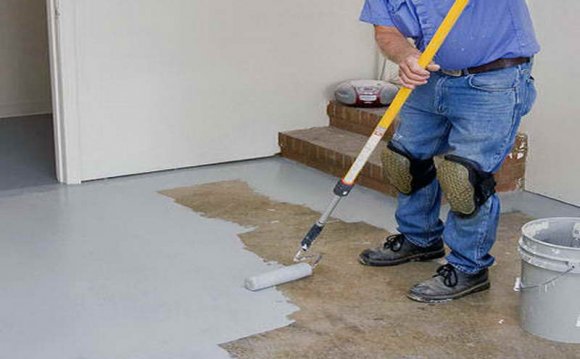
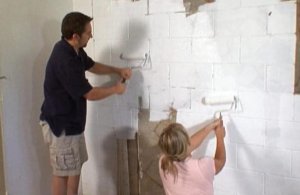
Primer is applied with help of roller brush up to required height of the wall and then on the floor.
Bond Breakers
 When the primer goes dry we will use combination of silicon and tape. Tape to be applied on four walls at required height. This is to ensure that waterproofing is done up to this height only.
Sometimes waterproofing is required to complete height of the toilet walls or sometimes may be 1-foot height only as per the requirement. Silicon is then put in all the corners vertically and horizontally very carefully to ensure no gap is left.
First Coat of Waterproofing for Toilets
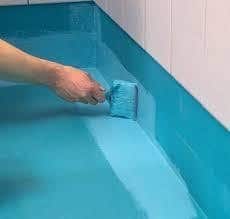
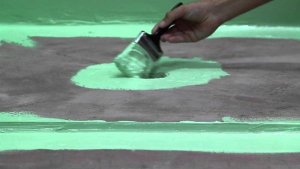
Start applying the membrane with a paint brush starting from the corners where silicon is applied make sure we pay extra attention to make 100 % coverage as this is the most critical area.
Similarly, where other places joints are coming at shower fixture, any taps or other sanitary items or sinks in the floor (lay the coat 4 inch inside the holes) make a good coverage. So all critical areas are finished.
Then take a roller brush and simply apply the waterproofing on all the walls and floor. When applying roller make sure we are rolling it at 90-degree angle.
Second Coat of Toilet Waterproofing
After the first coat dries, put the second coat similar as above, carefully brush on the corners and joints and roller on the walls and floor, we can use a different color to make sure no area is left of waterproof coat.
Some cases along with the liquid membrane, sheets of membrane are also fixed at all the joints, walls & floors. Sheets can be laid along with first coat of liquid WPM. Finally remove the masking tape from the walls.


